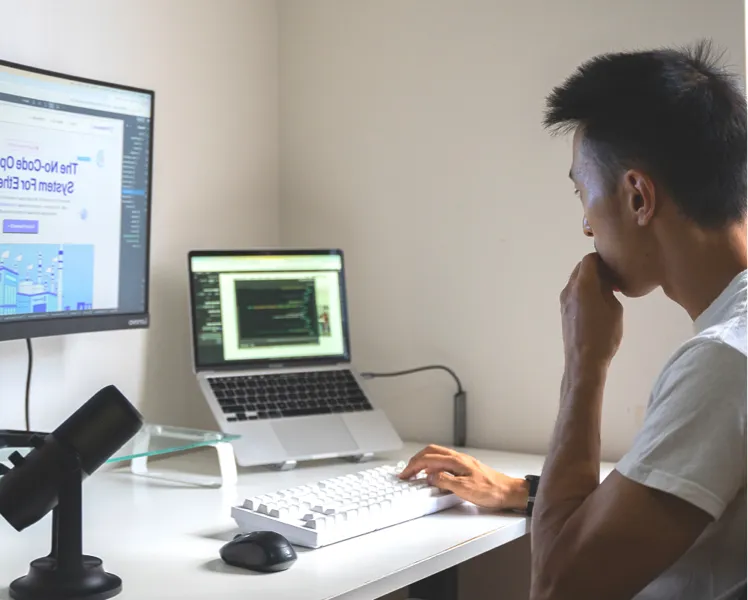


Learn how to build Basic Custom Navbar in Webflow with clear step-by-step instructions, perfect for freelancers, designers, and Webflow beginners looking t
A well-designed navigation bar (navbar) is essential for any successful website. It guides users, enhances UX, and boosts your SEO. In Webflow, you have full control over your navbar’s structure, design, and interactivity — whether you're building it from scratch or using a prebuilt component.
This guide walks you through how to create and customize a responsive navbar in Webflow, along with tips for advanced styling, mobile responsiveness, and best practices for accessibility.
In Webflow, a navbar is a structural element that typically includes:
Webflow offers a prebuilt Navbar component that’s responsive out of the box, but you can also build a custom navbar using div blocks, link blocks, and interactions.
Link Blocks or Text Links for menu items and set their destinations.Sticky and define a top: 0 value for fixed top positioning on scroll.<nav>) to signal to search engines that it's your main navigation.aria-labels and proper link text for screen readers.A responsive, accessible, and well-designed Webflow navbar not only enhances usability but also improves site crawlability and SEO. Take the time to structure your nav with clear hierarchy and mobile-first design in mind — it’s one of the most important elements on your site.
<script type="application/ld+json">
{
"@context": "https://schema.org",
"@type": "HowTo",
"name": "How to Build a Navbar in Webflow",
"description": "Learn how to create a responsive, SEO-friendly navbar in Webflow. This step-by-step guide covers setup, customization, and best practices for mobile design and accessibility.",
"mainEntityOfPage": {
"@type": "WebPage",
"@id": "https://www.dereksiu.com.au/tutorials/basic-custom-navbar"
},
"image": "https://cdn.prod.website-files.com/68196adb6213c741b7ad80d8/682b06649a9bba82b96c170d_Dereksiu.com.au%20logo.jpg",
"author": {
"@type": "Person",
"name": "Derek Siu",
"url": "https://www.dereksiu.com.au"
},
"publisher": {
"@type": "Organization",
"name": "Derek Siu",
"logo": {
"@type": "ImageObject",
"url": "https://cdn.prod.website-files.com/68196adb6213c741b7ad80d8/682b06649a9bba82b96c170d_Dereksiu.com.au%20logo.jpg"
}
},
"datePublished": "2025-05-22",
"dateModified": "2025-05-22",
"tool": [
{ "@type": "HowToTool", "name": "Webflow Designer" },
{ "@type": "HowToTool", "name": "Navbar Comp